|
Author: Skip
Boxster Lift Rod End Replacement Instructions:
-
Raise the tonneau cover to an upright position. This will be just before the top starts to pull back.
-
Loosen the 6 nuts (3 per side) holding the tonneau cover to the lift arms. Remove the tonneau cover and set it aside
note: the unpainted area under the nut. This will help you align the tonneau cover when putting it back on the arms.
-
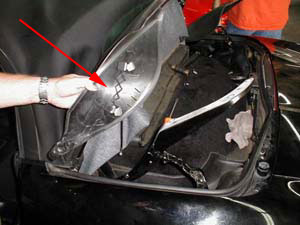
Remove the lift arm cover from each side and set aside.
-
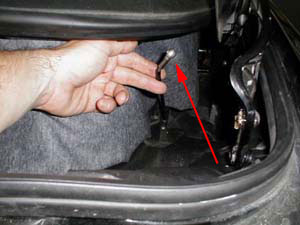
Remove one end of the small black cable on each side of the top. I recommend removing the bottom. Pry off with a flatblade screwdriver.
-
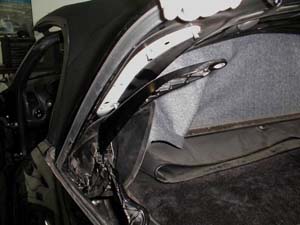
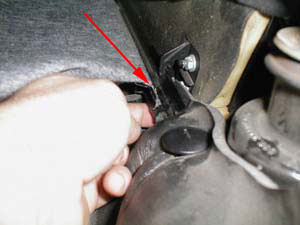
The top has a skirt that attaches to the back of the car. This needs to be loosened. It basically just has a clip that the bar goes under and snaps in place. One on each side of the car.
-
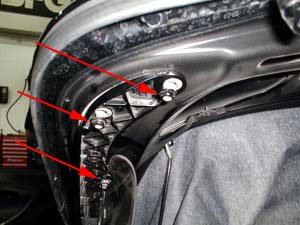
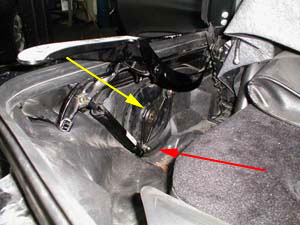
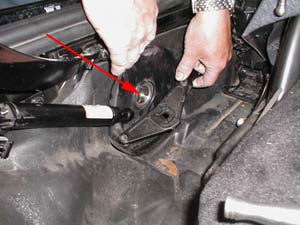
You should now be able to see the lift arm assembly. There are 3 steps to removing this assembly. First, pry of the ball end of the black cylinder (red). The tonneau cover lift arm should move freely now. Next, remove the 19mm bolt from the transmission assembly (yellow)
-
Pry off the red ball end at the end of the lift arm. Note this one is already replaced with the metal substitute. Yours will be red plastic.
-
The lift rod should be off the car now and in your hands. Unscrew the red end and replace with the metal end.
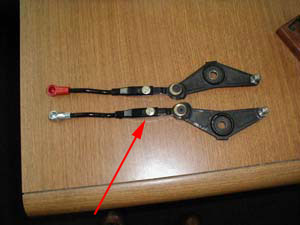
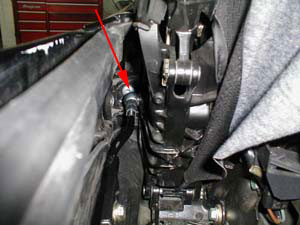
Note this bolt (red arrow). This is the length adjustment for the entire assembly. You may need to adjust this later when reinstalling. Also, as you can tell from the picture above, there is a left and right to these arms.
-
Reinstallation is the reverse of removal. A couple of things I want to point out.
Note on the transmission there is a slot. The tabs in the arm go into this slot.
-
Snap the new metal end back onto its ball on the top and reinstall the 19mm bolt. Before snapping on the black cylinder, test operation of the lift arm. If the lift arm does not sit all the way down and is hitting the lift rod, the rod is too long. Loosen the adjustment bolt I showed you in step 7. Adjust until the lift arm sits in its closed position and retighten the adjustment bolt.
-
There is a black plastic hinge plate that may come loose during this process. Heres where it goes.

-
Once the assembly is back together. You can test it without the tonneau cover in place. Just remove all tools from the work area. Set the skirt back in place and reconnect the black cable to the top(step 4). Both arms should move freely and in time with each other.
-
Reinstall the tonneau cover getting the nuts as close to the unpainted area as possible.
-
Run a final test and your finished.
Note: Porsche does have an updated cable that operates the top. We suggest replacing the cables at the same time.
97-99:
Left cable is 986.561.717.01
Right cable is 986.561.718.01
00-on:
986.561.717.02 for both sides
Credits: KLA Industries
|
